
This is an easy walk taking you first to Low Force waterfall, then to High Force Waterfall. It’s shorter and easier than I like my walks to be, however, I actually really enjoyed it.
Both waterfalls were really impressive. I hadn’t seen a good waterfall for a while. We tried a few around Europe this summer, but they were all dried up. These ones were nice and forcy.


To see both waterfalls, you will be following the River Tees, on a well laid out trail, with the occasional more rocky bit.


In this guide I’m going to tell you a bit about the waterfall, and what to expect on the walk. I will provide logistics, map, tips, and a full route description with photos
What is High Force Waterfall?
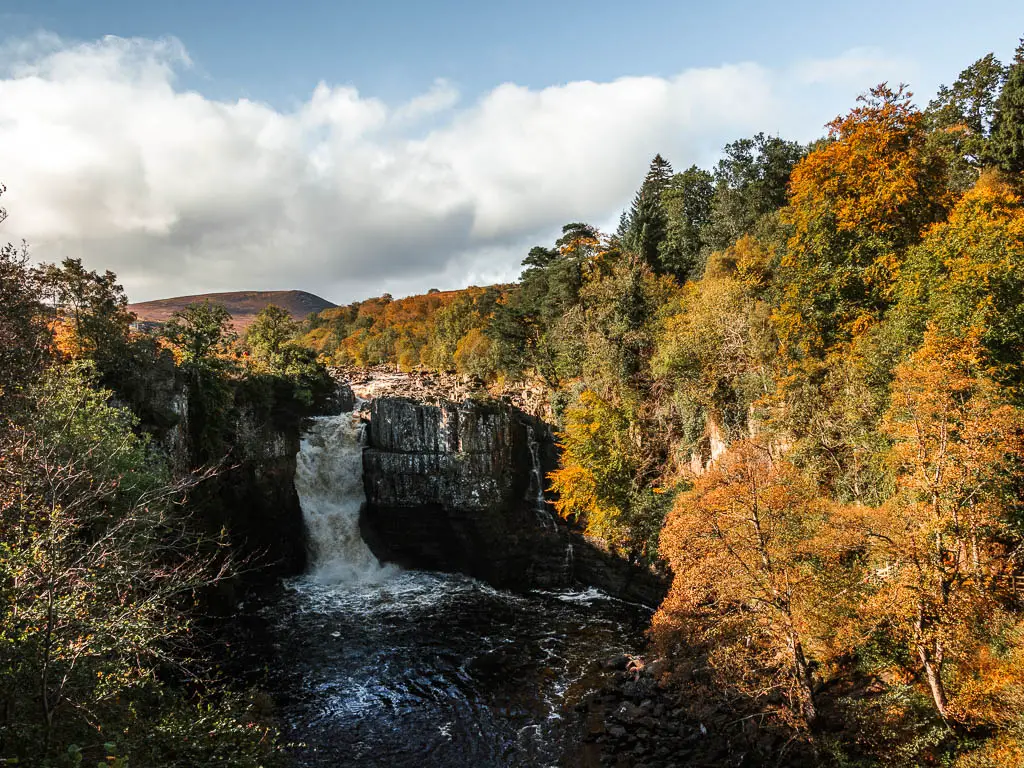
Well, there’s the obvious. It’s a waterfall. To be more specific, it’s where the River Tees drops 21 meters into a deep plunge Pool.
The word force doesn’t come from the fact that it feels powerful and forcy, but rather, the word ‘foss’, which is the Old Norse word for waterfall, from the Vikings.
Fun Fact: The North Pennies was once at the equator, and some of the rocks you see behind the High Force Waterfall were formed during this time, 330 million years ago.
The layers of rock you can see, starting from the top layer and moving down are Whin Sill, Sandstone, and Limestone.
Alternate routes for the High Force Waterfall Walk
We made the walk to High Force Waterfall into a circular, which I would recommend over there and back. The circular will take you slightly higher up for the way back, but not so much that you notice an uphill. It gives you a nice view of the landscape and hills, and you will walk alongside stone walls.

You also have the option to see High Force Waterfall from the other side of the river, lower down. To get there, you would need to cross over the bridge halfway along the trail, and follow the river to reach the waterfall. There isn’t a bridge crossing at the waterfall itself. I will show you when I describe the walk below.
Logistics for the circular walk to High Force Waterfall
- Start/Finish: A lay-by style car park on the side of the road (B6277) in Bowlees.
- How to get there: If you locate the Bowlees visitor centre on Google Maps, on the main road leading up to it, there is a place to park your car on the side of the road. From there, it’s a short walk along the road in the direction of west to reach the start of the trail. Or, there is also another small section along the side of the road a little further along, right at the start of the trail. This is where we started. Both of these are free parking. You can see the exact location on my map below.

- Time: 1h 40min
- Distance: 4 miles circular
- Terrain: Dirt/gravel/grass trail. A suspension bridge. Some rocks.
- Difficulty: Easy
- Time of year: We did this is Autumn
- Amenities: None on this walk (apart from the car park lay-by)
- Dog Friendly: No livestock noted for the walk to High Force Waterfall along the riverside trail. There was livestock for the loop back through the fields. No stiles.
Tips for the High Force Waterfall walk
- Windproof jacket. I don’t know if this is a regular occurrence, but it was crazy windy when we did it.
- To see the High Force Waterfall from different perspectives, on the walk back along the riverside trail after you have reached High Force, cross over the bridge, and walk back towards the waterfall. You will be taken to a road briefly, then back onto the trail to reach it.
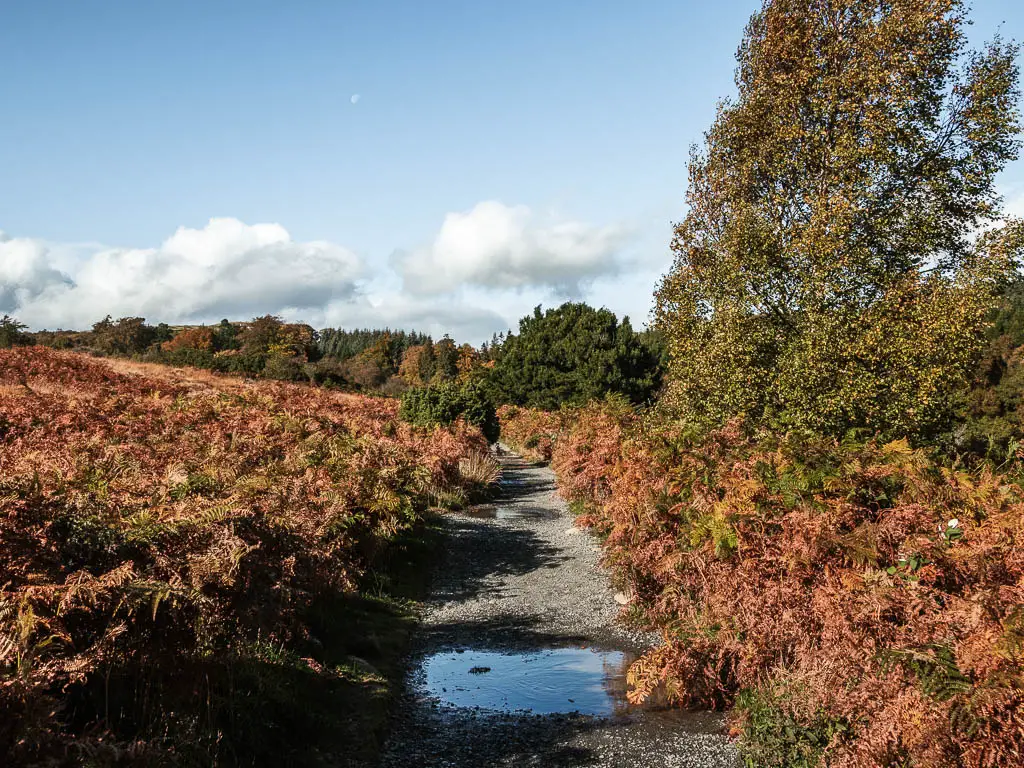
- Trainers are fine for this walk. A warning though, if it’s been raining, there will be some puddles.
- When I read about the High Force Waterfall online, it seemed like you have to pay to see it. £2.50 per adult. However, this was not the case for us. I’m not sure if it’s because we are out of season, or maybe you have to pay to see it from the other side. I don’t know. Just incase, take some money.
Map for the circular walk to High Force Waterfall
You can find my more detailed route guide on AllTrails.
More local walking ideas and routes will be at the end
High Force Waterfall Walk Guide
Just next to the road, you should see a trail sign, leading you over the stone wall and into a field. Continue straight down the field, with the fence to your right. When you reach a gate on the right, go through it and into the woods on the other side of the field.


Low Force Waterfall
Continuing straight through the woods, very soon you will have Low Force Waterfall to your right. It’s just before the bridge. I almost missed it and was heading straight for the bridge. It’s only when Ollie said ‘theres a waterfall over there’ that it clicked.

As I said earlier, I was super impressed with this one. Given that this is not the main event of the walk, I was really excited to see what came next.
To continue on the trail, cross over the bridge and turn right. You will get a view to Low Force Waterfall from another perspective. Just as good.


We saw some mountain rescuers in training here. Jumping in the water. I felt cold just watching them.
Walk towards High Force Waterfall
The trail for the rest of the walk to High Force Waterfall is super easy to follow. Just keep to the path next to the River Tees. The terrain varies from dirt to rocks. At some points a bit more rocky.


When you reach the bridge, you have two options. Continue on this side, to walk to the high viewpoint of the waterfall. Or, cross over the bridge and follow the river to see it from low down. We didn’t go that way, so I can’t say what it’s like.
But we did go onto the bridge to see the cows drinking from the river. Like watching wild beasts on safari, drinking from their water source.

Continuing on the walk on this side of the river, although now you will be a little further away from it.
When you reach the end where the trail goes left and right, choose right. Continue walking for a few more meters, and you will reach the the High Force Waterfall viewpoint.
There are a few rocks here you can sit on, but be warned, there is a bit of spray from the waterfall. It’s also very windy, so we didn’t last long before turning back.
Start the walk back
The first part of the way back is along the same trail. This is where we caught a bit of rain. It passed quickly though, and left us with a wonderful rainbow. Actually, a double rainbow.

When you reach the gate, with a cottage straight ahead, this is where you must decide what you want to do next.
Through the gate, if you take the left trail, this will lead you all the way back to the start, the way you came. The bridge is also a short way along there, if you want to cross it and walk to High Force Waterfall on the other side. For this walk though, take the right grass trail leading to the cottage.

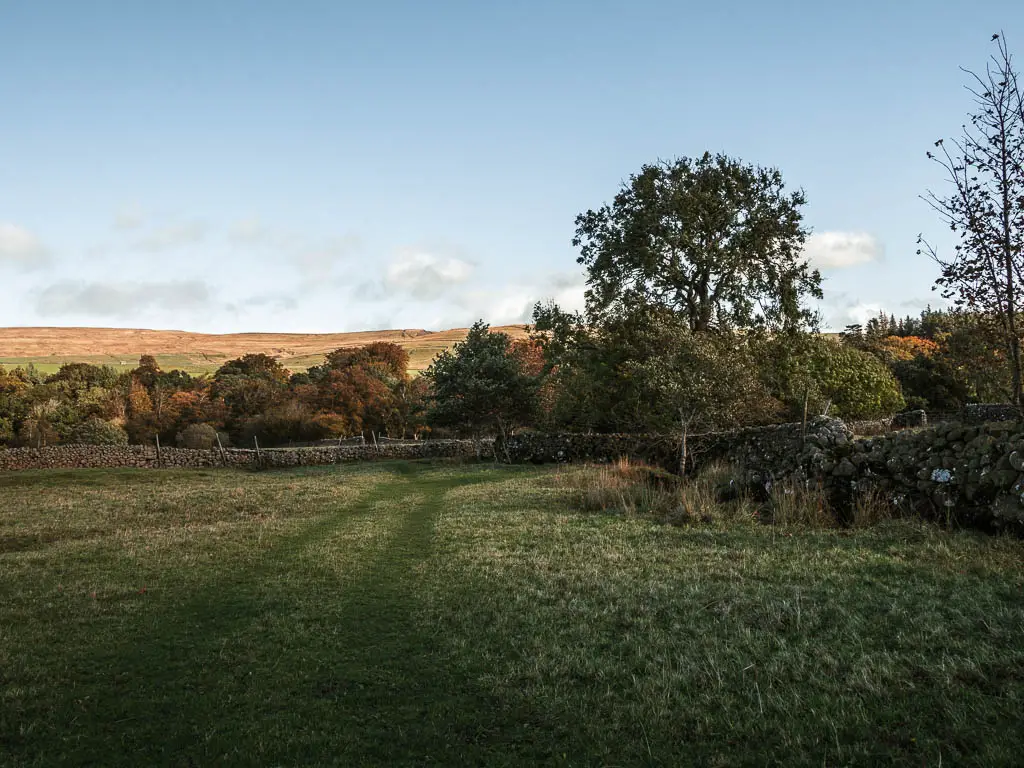
The fields, the stone wall, and the cottages
Keep going straight through the next gate, heading towards the stone wall ahead. The trail takes you along the right side of the wall, and past some ruins.


Keep following this trail, all the way until you reach a left turn towards another cottage.


Now, when you reach the next gate, I think you can go through it and follow the trail all the way past the cottage. This is not when we did, as on my map, the trail seemed to be a dead end. However, once we made it to the other side (a different way), it looked like the trail wasn’t a dead end. I might suggest trying that route as it looked easier.
What we did, rather than walking through the gate, is turn left to walk along the edge of the field, with the stone wall to our right, then crossed over it at the bottom. It was a little boggy, and the climb over the wall is on sticking out slabs of rock.

Once over, we crossed the stream, and walked alongside it (stream to our right). This then joins with that trail we didn’t take.

Walk back to Low Force Waterfall
Following the trail, through another gate and over a wooden walkway, head straight across the small field, towards some woodland.

At the woodland, turn left. Also, make sure to look to the right for a lovely little hill shed.


Once you turn left into the woods, the trail will take you to that bridge from the start, and to Low Force Waterfall.
The end of the walk
From here, simply make your way back the way you came. For guidance, in case you are not sure, continue straight from the bridge, through the woods, then up a small hill to reach a field.
Walk to the other side of the field, and turn left after the gate. This will take you back to the main road.


It was on this bit that I first noticed the little hut like things on the hills ahead to the right. I imagined the top one being my little home on the hill. Looking down over my kingdom.

More walking ideas in the North Pennines
I highly recommend walking to Cauldron Snout. If you like rocks, a bit of scrambling, and a feeling of total seclusion, then this one is for you.
I had other walks planned for my trip to the North Pennines, however, the weather had other plans for me. They will have to wait for another time.
For more info about the area and other things to do, you can check out the North Pennines website.
Pin it for later: High Force Waterfall Walk Guide

